
Tear down and Learn a good-build $20 RC Toy Car
Make good products, not War!
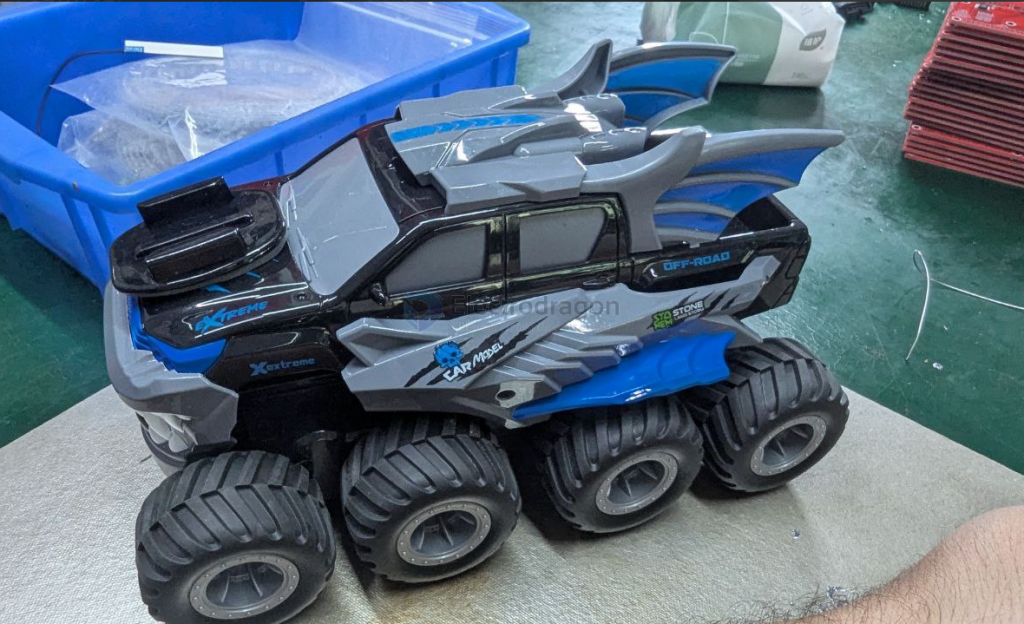
This is how the car looks like from the beginning, because we are going to hack it, it won’t look the same afterward.
The car is also fully water proofed, let’s see how they did. And estimated their cost and profit. Also we will focus on the electronics how it works.
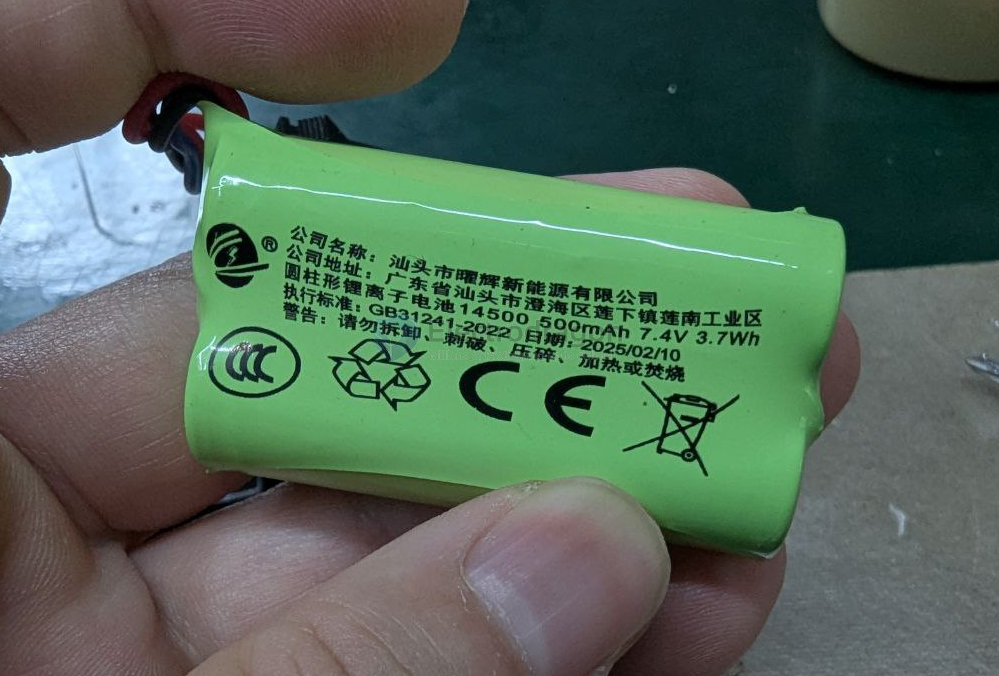
Lithium Battery
The battery in a plastic case, well isolated to be water proofed.
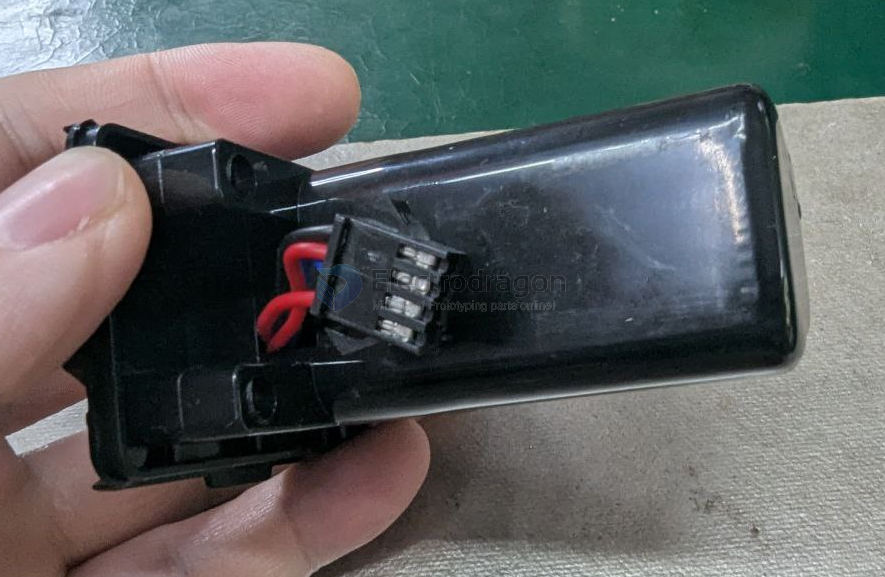
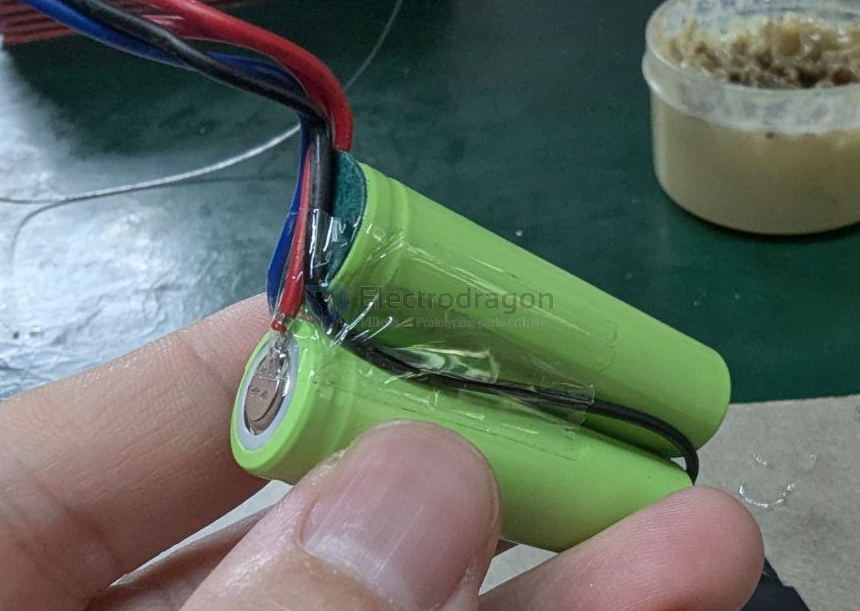
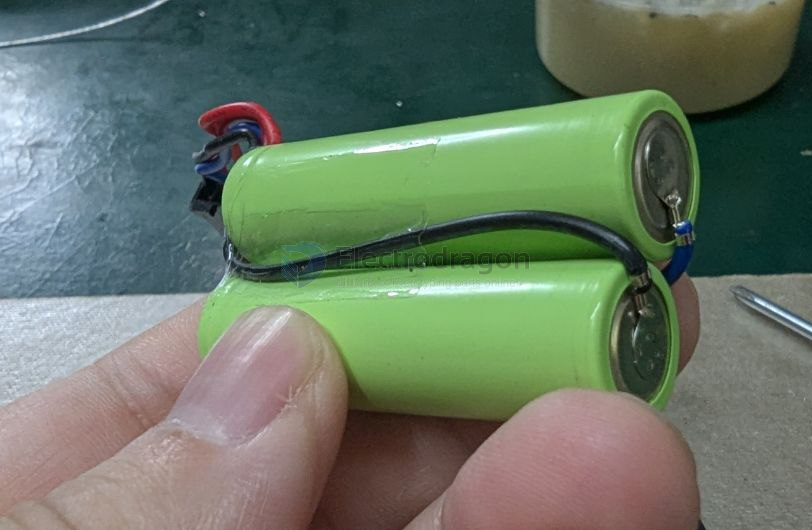
So lets check the toy car step by step, first is the battery, the battery has four wires, but in the master, only two wires are connected, so they are not originally fit.
The designer should spend more cost on the wire and case joint to add a ring to make it water proof. But maybe this is also OK enough.

Now the battery is out, capacity is small enough only 500mAH, 2S 7.3V, and the advertisement said it can run up to 30-40 minutes, I have doublt.
It has four wires but only two finally were used on the car, which makes me confused for a while.
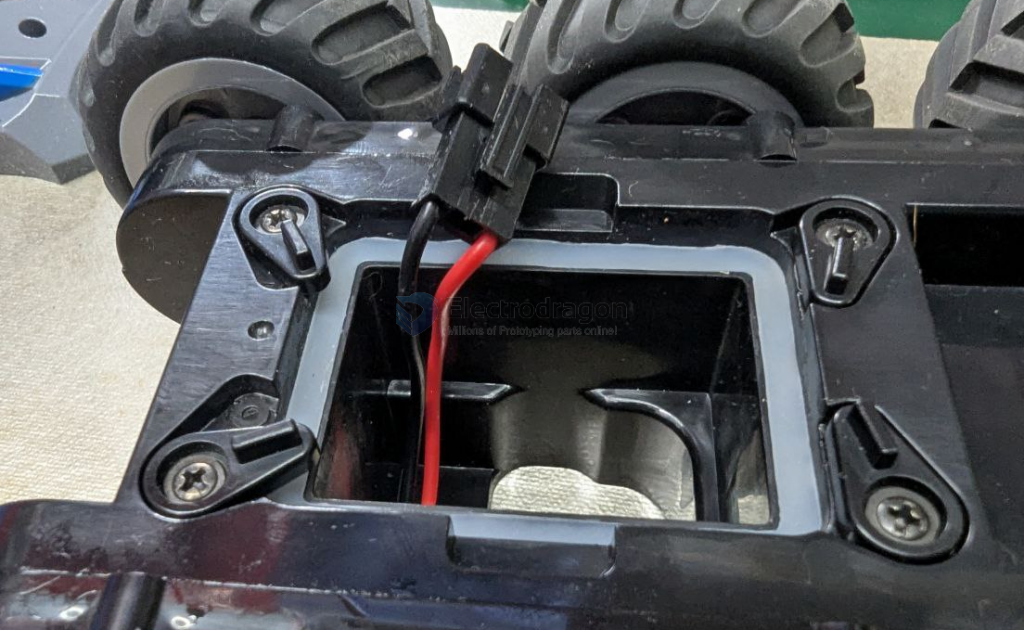
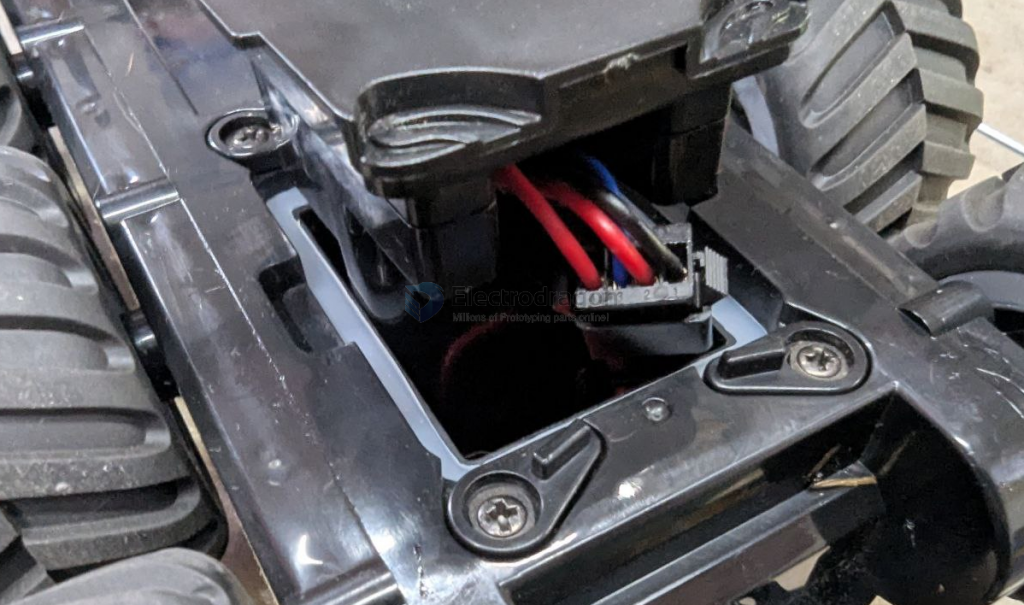
The entrance of the battery and connectors, it has water proof ring, and four manual lockers.
The Main Car Body
The car’s side wings are installed by two screws.
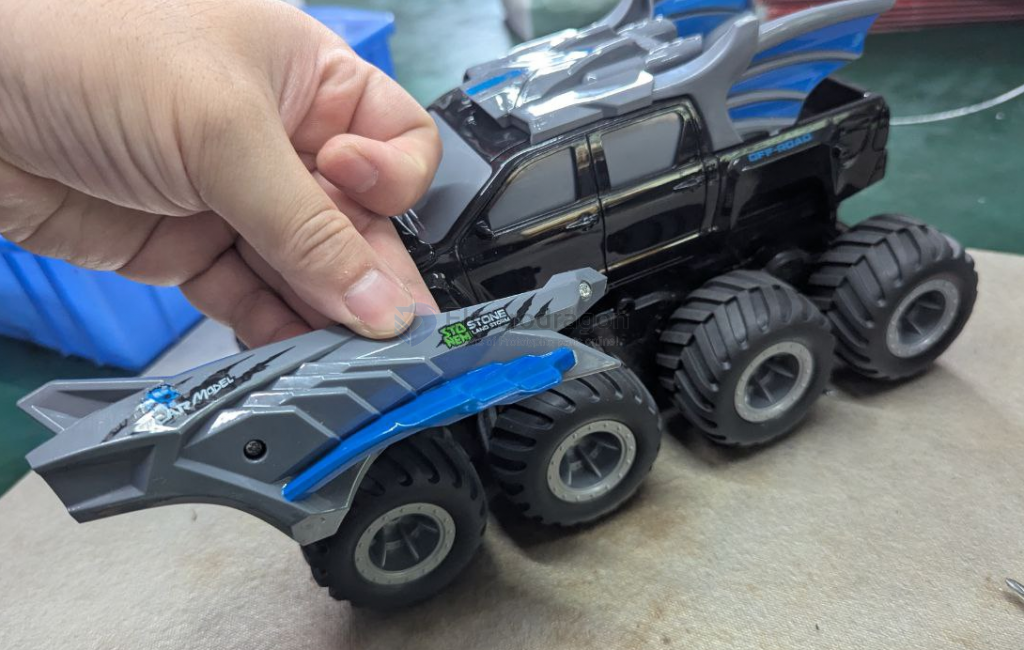
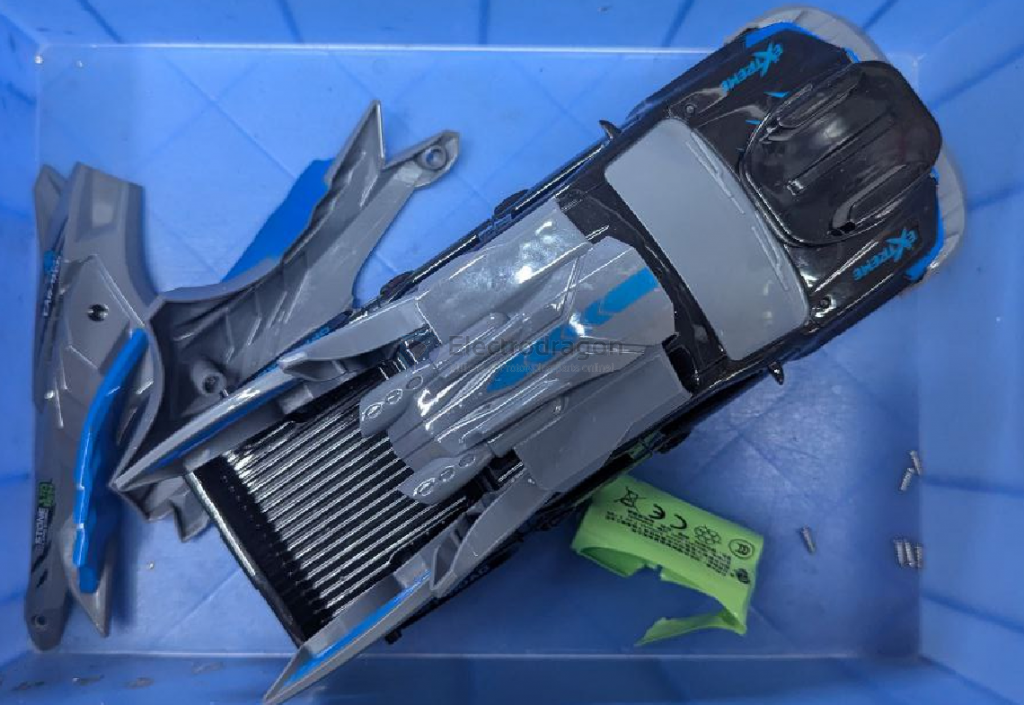
Further remove the whole top case, so it is all decoration, nothing else, and there are many grass stuck between after I played with it.
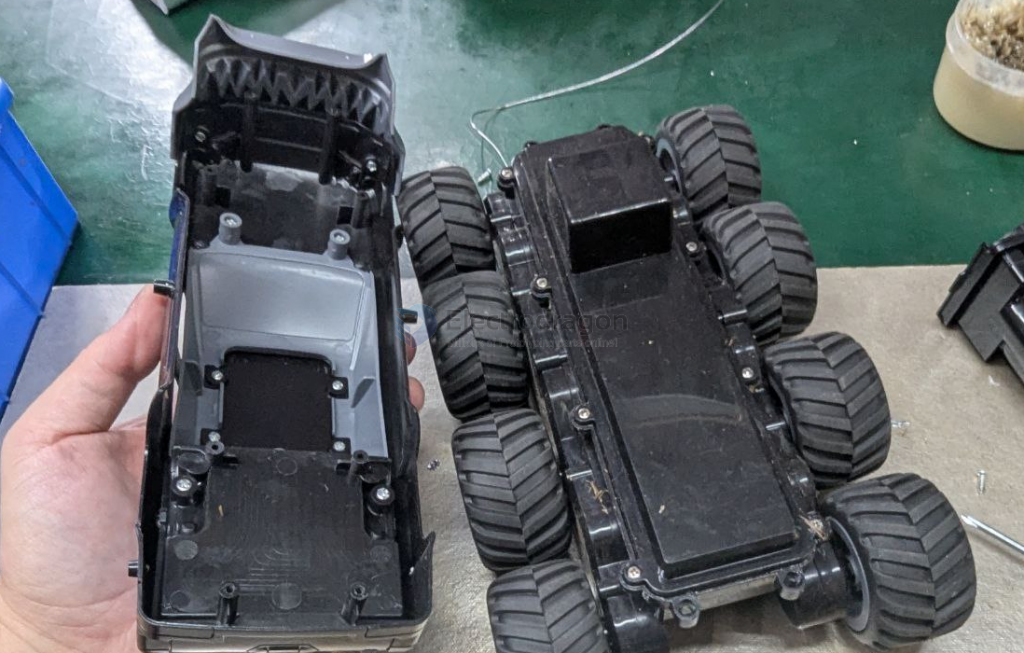
Love the large wheels, it run smooths on the grass, even when it run through the shoes. This is how it looks like after remove all the top “car” decoration.
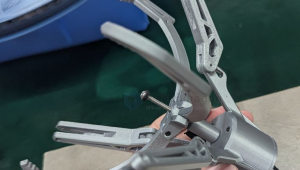
You can also notice that there is a protruding part on the top, which is also a part of the space for large batteries.
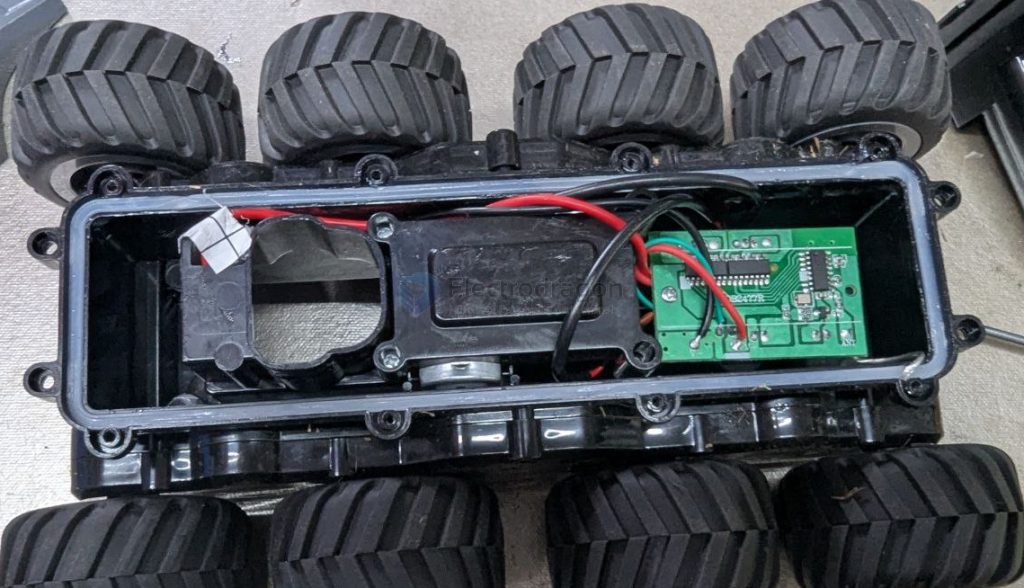
Open Inside and the Electronics Part
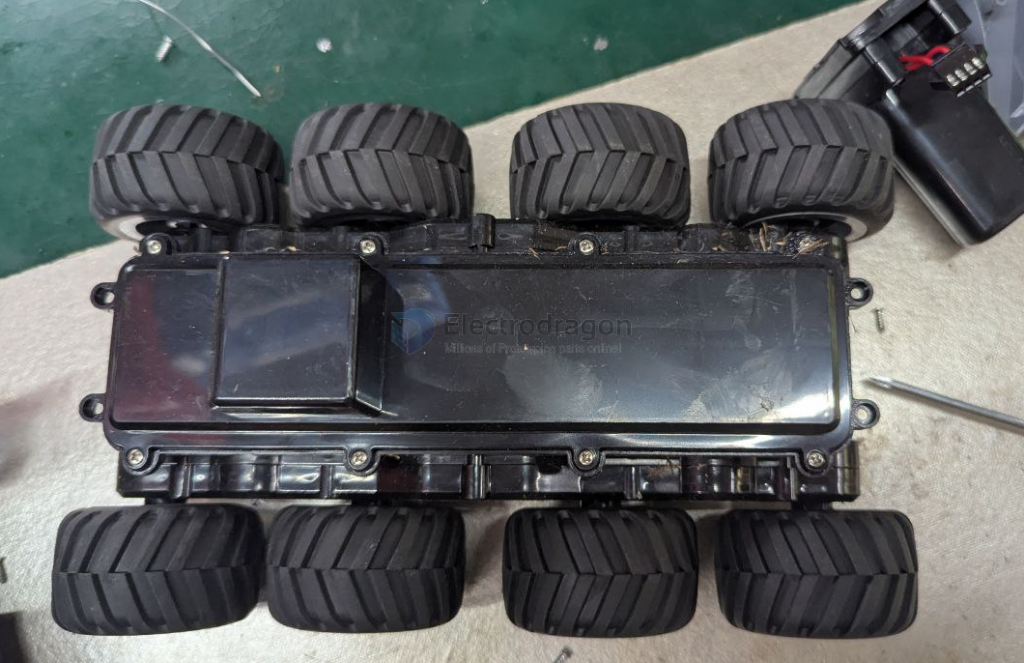
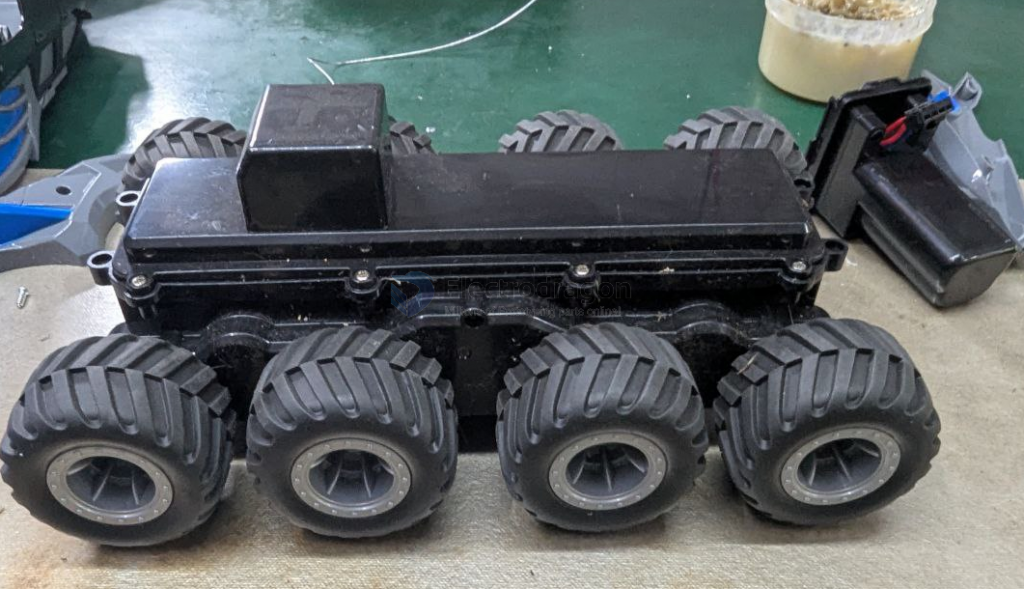
There is a big sqaure container in the middle, locked by 8 screws as you can see, between the cases there is a also a water proof ring.
The inside comes up with roughly simply three parts, the battery house, the motor house, and the PCB control board.
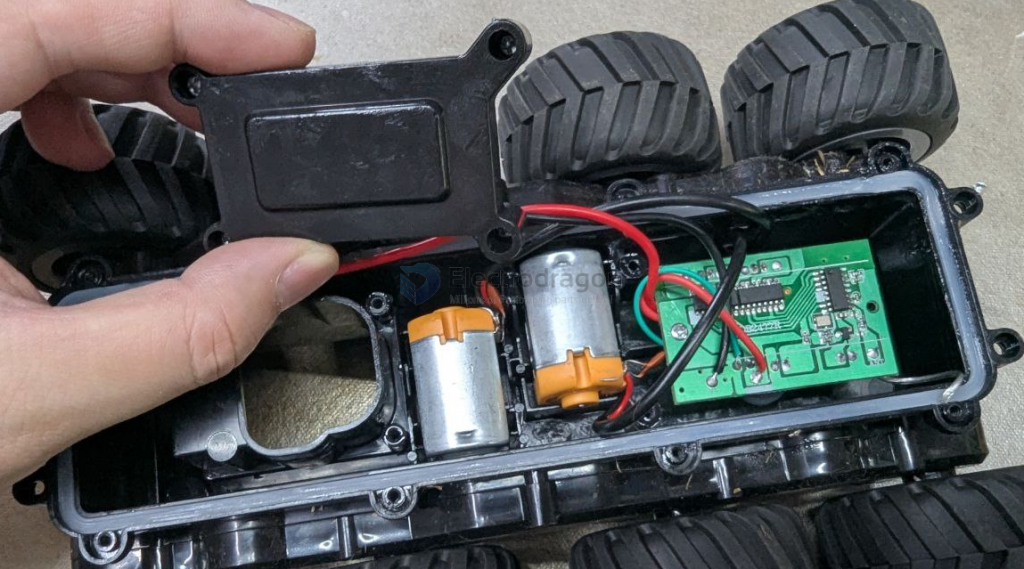
Ignore the battery house, lets go for the motor house, open the small top cap, there are simply two slighly big DC motors inside, based on the image, lets ask AI what’s its specificatoins.
130-size DC Motors:
- Voltage: Commonly run on 3V to 6V.
- Speed: Depends on the voltage, but typically range from 10,000 to 20,000 RPM.
- Shaft Diameter: Usually 2 mm.
- Dimensions: About 15 mm diameter and 25 mm length for the motor can.
- Application: Perfect for light-load applications like small RC vehicles or fans.
However it looks bigger than normal 130 motors I know, so let me further ask it could be: 260 or 280 Size DC Motors, yeah either one of them could be.
260 Motor
- Diameter: ~24 mm
- Length (without shaft): ~30–35 mm
- Shaft Diameter: ~2 mm
- Voltage: 3V to 12V
- Use: Medium-sized RC toys, gearboxes
280 Motor
- Diameter: ~24 mm (same as 260)
- Length (without shaft): ~38–40 mm
- Shaft Diameter: ~2 mm
- Voltage: 3V to 12V
- Use: More torque/speed than 260, found in faster or heavier RC vehicles
Electronics
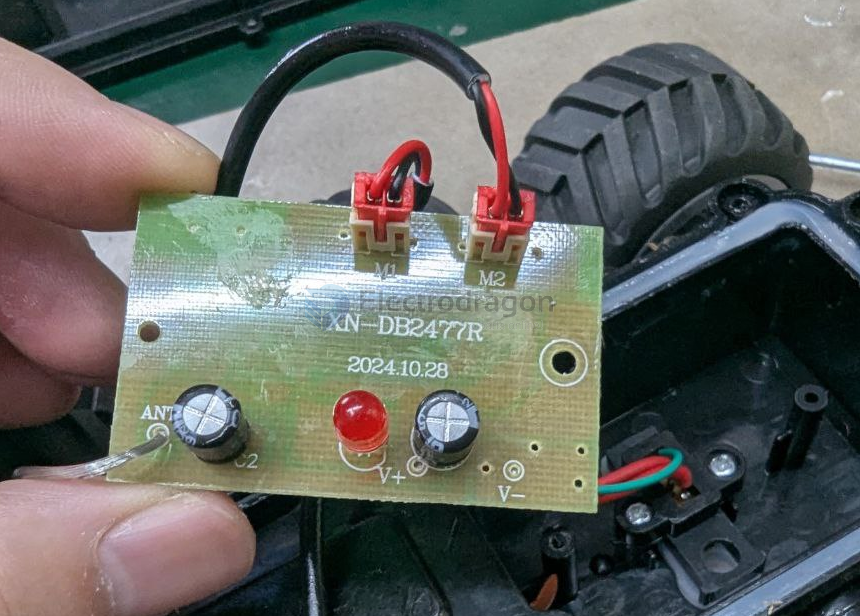
The wiring is simple, only two power supply in from batteries, and 2×2 power supply for the DC motors.
The PCB board is also very simple, there are two motor controller chips side by side, and a main MCU controller chip doing following functions: A LED indicator, 2.4GHz controller signal receiving and processing, and commands control the motor chips. That is all.
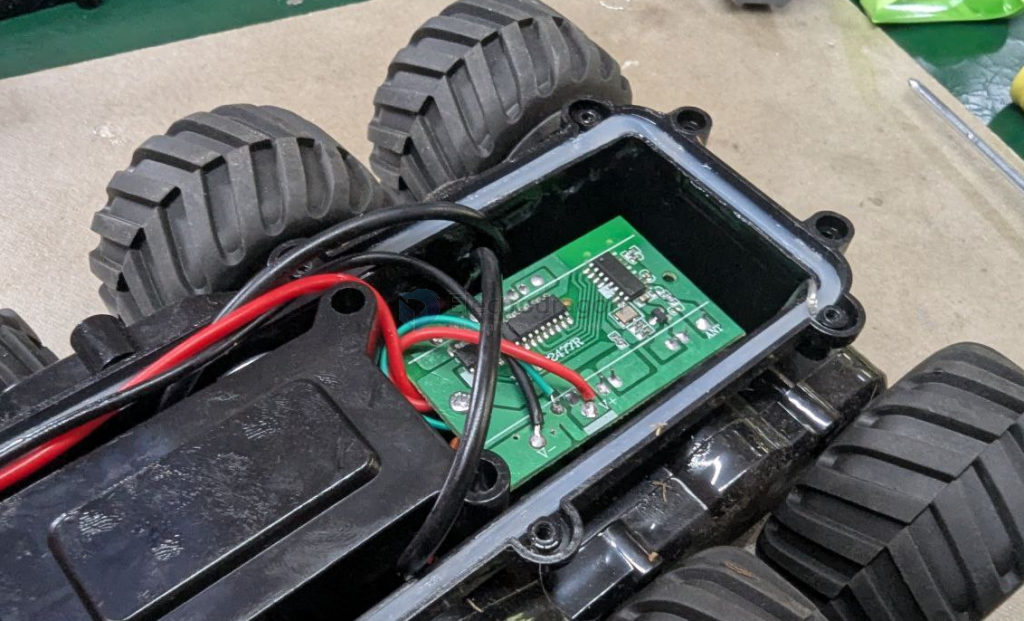
Here is the really SMALL antenna, maybe for toy playing is good enough, but I want to hack this later. The antenna also nicely hang on the water proof ring, the maxium place it can reach from the inside of the case.

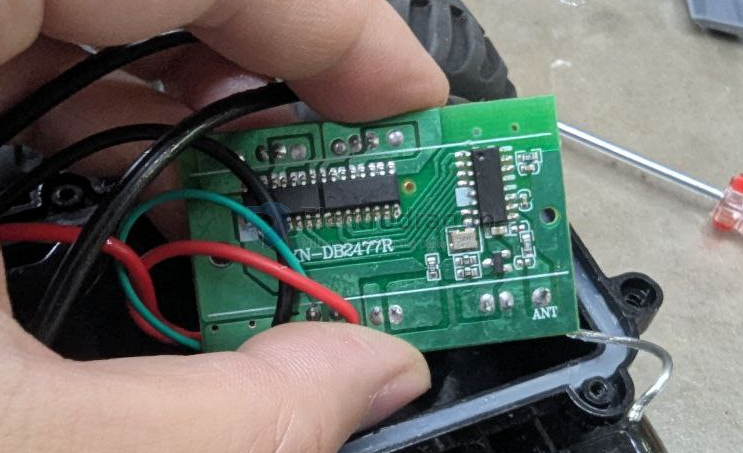
The PCB board view from the another side, two motor connectors M1 and M2, and two large electrolyte capacitors for motor probably? The LED indicator the remote signal while pairing.
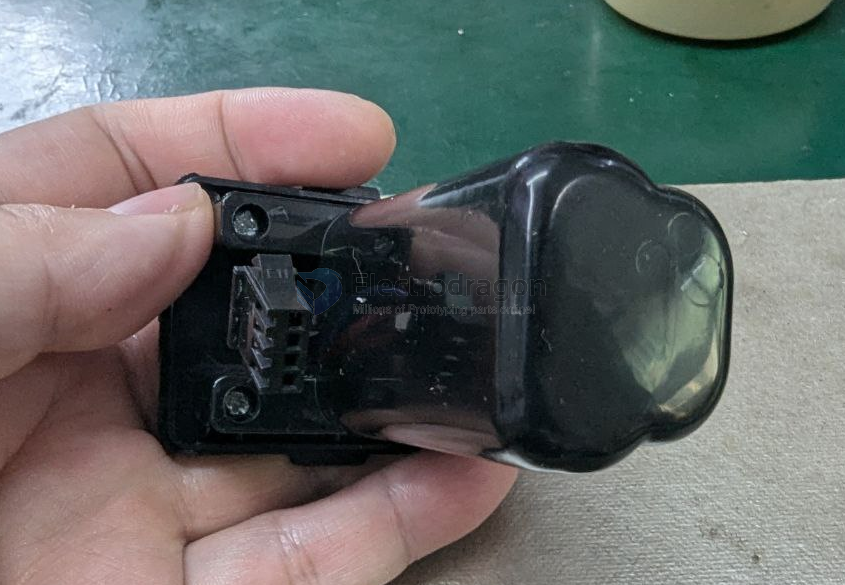
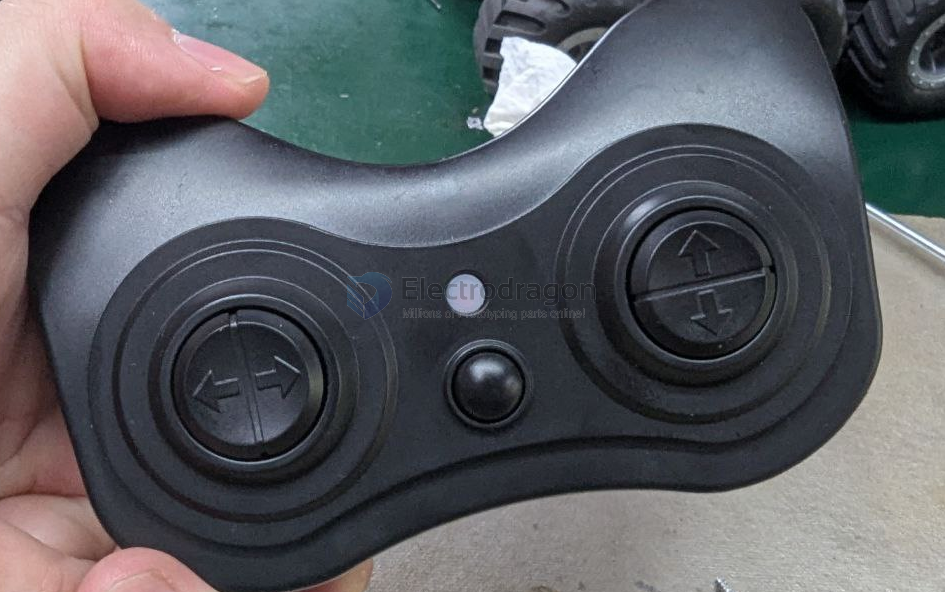
The Final Part Remote Controller
The remote console is even also water proofed, easy to use, a middle button probably to wake-up itself, and up / down, left / right two round pad keyboards.
Open the inside, we will see a big water proof rubber cover, and the sperated buttons on the top.
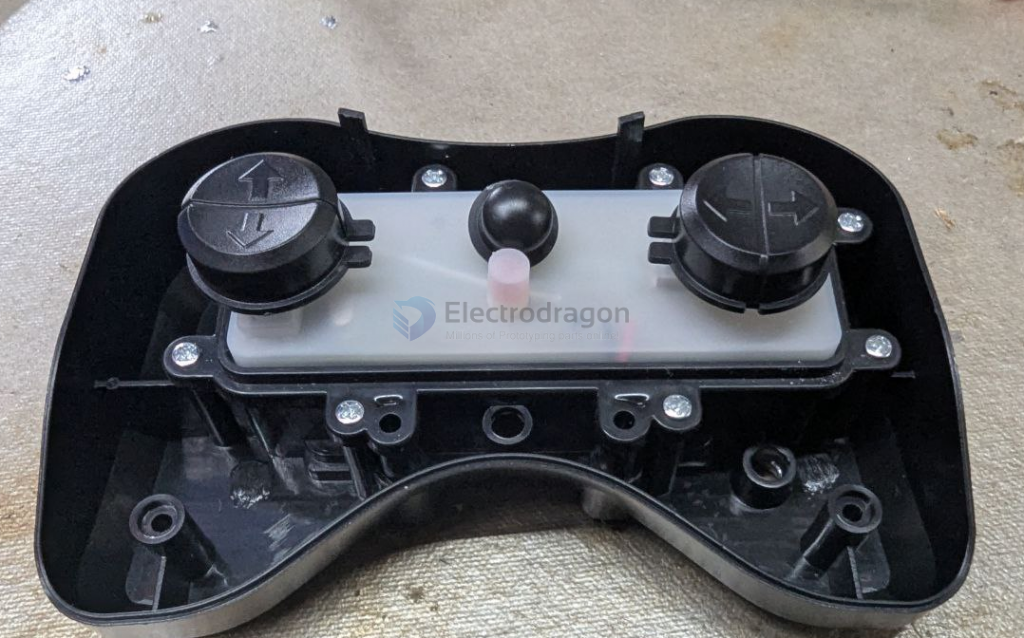

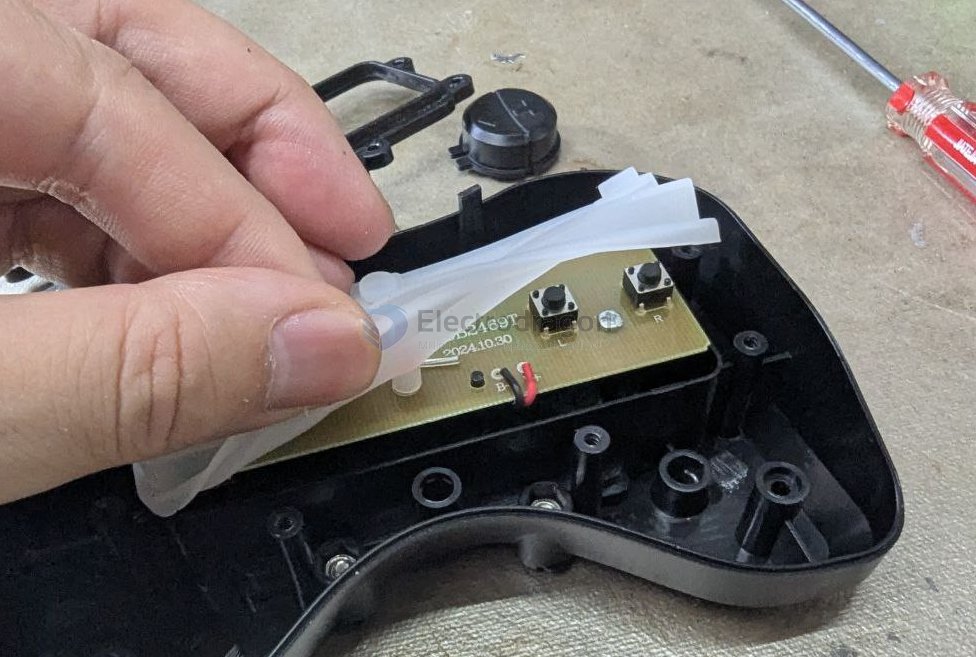
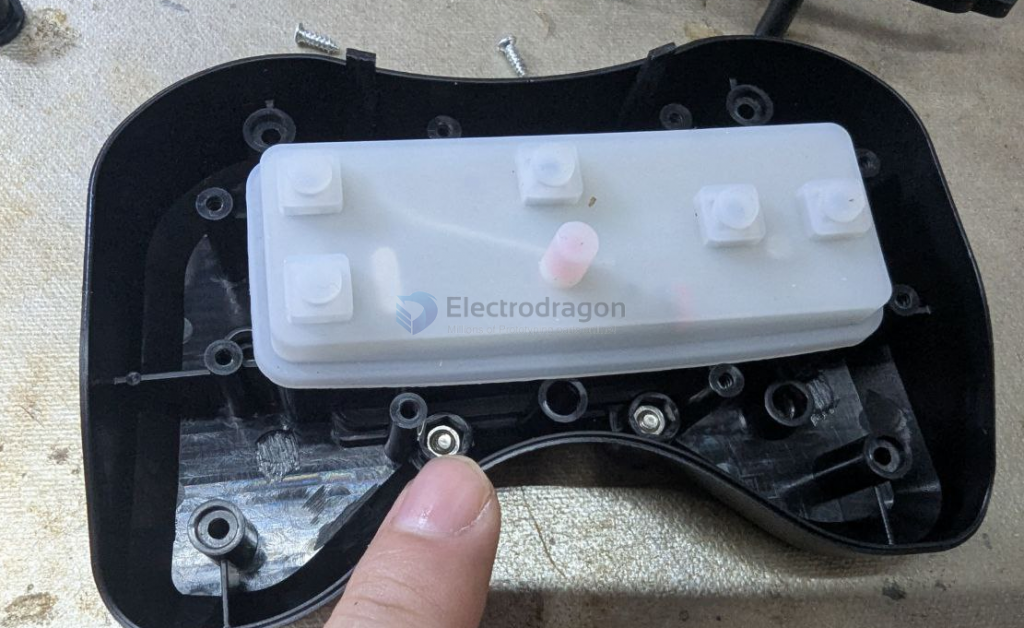
The buttons are aligned by guides with the top cases, as shown below, the movement directions are limited to up and down.
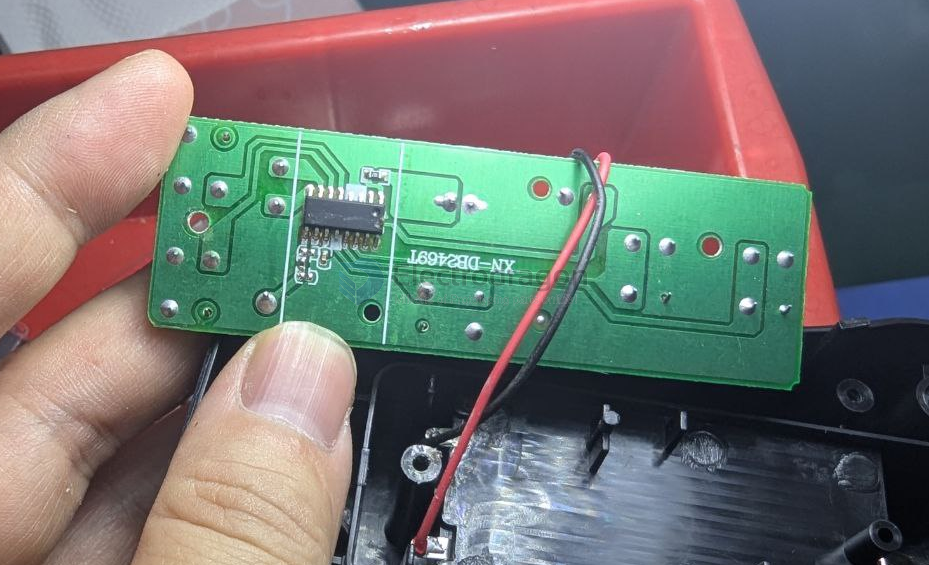
Removed all the screws and then the plastic frame cover for the water proof rubber conver, the side of the PCB show up.So there are power inputs, led indicator, antenna, and five buttons.
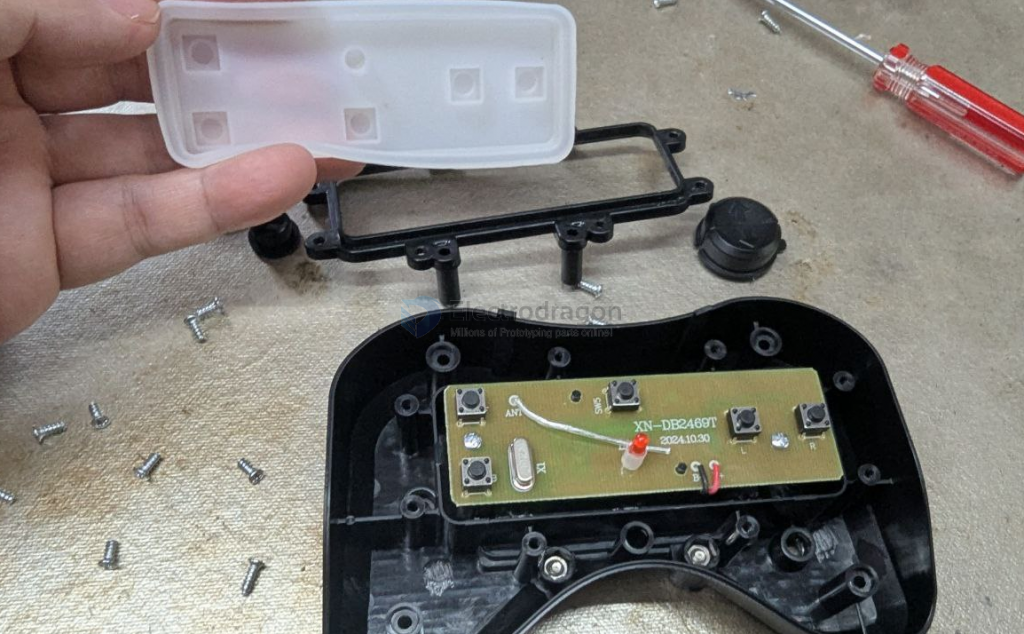
The chip should be a highly customized one, with signal inputs, and 2.4Ghz transmitter.
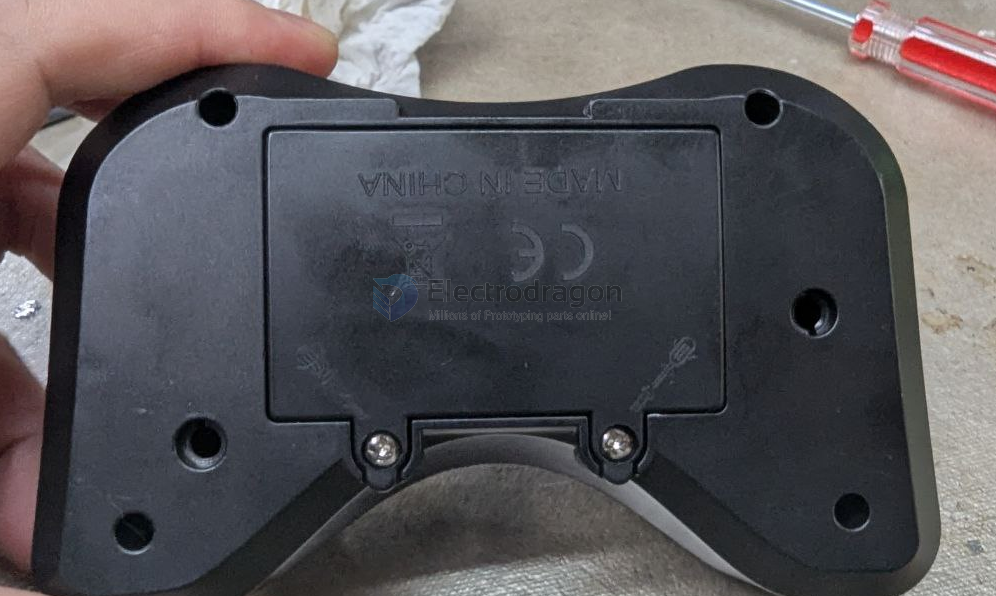
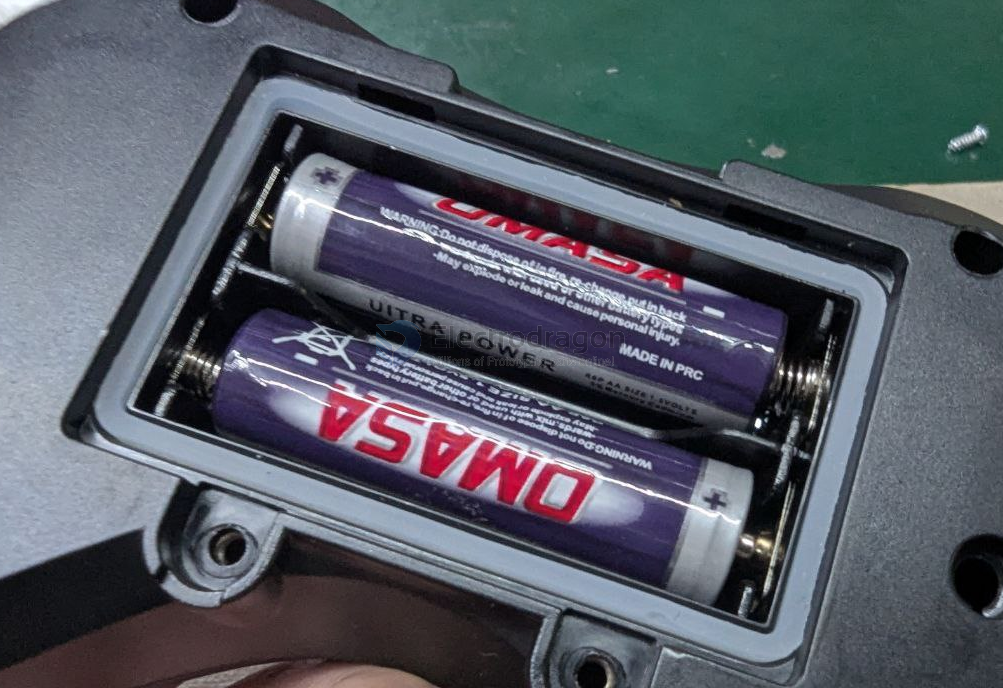
The backside battery is also water proofed.
Further Hack
For now it is all done, I will leave these decorations, and further hack it for other purpose.
Thank you for reading!

Leave a Reply