


![Raspberry Pi LCD Display w/touch [Size] - Image 1](https://www.electrodragon.com/wp-content/uploads/2015/07/Raspberry-Pi-5-LCD-Display-wtouch-13-560x560.jpg)
![Raspberry Pi LCD Display w/touch [Size] - Image 2](https://www.electrodragon.com/wp-content/uploads/2015/07/Raspberry-Pi-5-LCD-Display-wtouch-01-400x400.jpg)
![Raspberry Pi LCD Display w/touch [Size] - Image 3](https://www.electrodragon.com/wp-content/uploads/2015/07/Raspberry-Pi-5-LCD-Display-wtouch-02-400x400.jpg)
![Raspberry Pi LCD Display w/touch [Size] - Image 4](https://www.electrodragon.com/wp-content/uploads/2015/07/Raspberry-Pi-5-LCD-Display-wtouch-03-400x400.jpg)
![Raspberry Pi LCD Display w/touch [Size] - Image 5](https://www.electrodragon.com/wp-content/uploads/2015/07/Raspberry-Pi-5-LCD-Display-wtouch-04-400x400.jpg)
![Raspberry Pi LCD Display w/touch [Size] - Image 6](https://www.electrodragon.com/wp-content/uploads/2015/07/Raspberry-Pi-5-LCD-Display-wtouch-05-400x400.jpg)
![Raspberry Pi LCD Display w/touch [Size] - Image 7](https://www.electrodragon.com/wp-content/uploads/2015/07/Raspberry-Pi-5-LCD-Display-wtouch-06-400x400.jpg)
![Raspberry Pi LCD Display w/touch [Size] - Image 8](https://www.electrodragon.com/wp-content/uploads/2015/07/Raspberry-Pi-5-LCD-Display-wtouch-07-400x400.jpg)
![Raspberry Pi LCD Display w/touch [Size] - Image 10](https://www.electrodragon.com/wp-content/uploads/2015/07/Raspberry-Pi-5-LCD-Display-wtouch-08-400x400.png)
![Raspberry Pi LCD Display w/touch [Size] - Image 11](https://www.electrodragon.com/wp-content/uploads/2015/07/Raspberry-Pi-5-LCD-Display-wtouch-09-400x400.jpg)
![Raspberry Pi LCD Display w/touch [Size] - Image 12](https://www.electrodragon.com/wp-content/uploads/2015/07/Raspberry-Pi-5-LCD-Display-wtouch-10-400x400.jpg)
![Raspberry Pi LCD Display w/touch [Size] - Image 13](https://www.electrodragon.com/wp-content/uploads/2015/07/Raspberry-Pi-5-LCD-Display-wtouch-11-400x400.jpg)
![Raspberry Pi LCD Display w/touch [Size] - Image 14](https://www.electrodragon.com/wp-content/uploads/2015/07/Raspberry-Pi-5-LCD-Display-wtouch-12-400x400.jpg)
Raspberry Pi LCD Display w/touch [Size]
Price range: $12.70 through $62.90
- Description
- Additional information
- Reviews (4)
- Enquiry2
Description
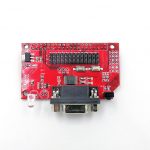
- Available in three sizes: 3.5”_GPIO, 5”_HDMI and 7”_HDMI
- Very easy to install and use, compatible and compact size for RPI
- Very easy to setup software and drivers for RPI
- Compatible and plugs directly into any version of Raspberry Pi (Raspberry Pi generation B-type need to reprovision the HDMI cable), no need cable for B+ , A+ and R2
- Can also be used for Cubieboard, Marsboard which has HDMI interface.
- Provide drive (which can be directly used to customize the Raspbian system)
- Universal HDMI display is not limited to Raspberry Pi (with resolution requirements)
- For display only, does not occupy any I/O resources (need I/Os for using the touch function)
- The backlight control by switch, better power saving
- Immersion Gold process, crafted
- Package includes:
- Main LCD LCM Board Module
- installation screws kit
- For 5”inch HDMI:
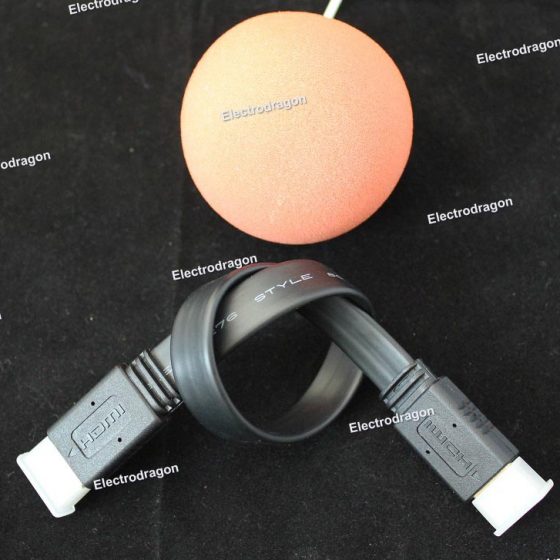
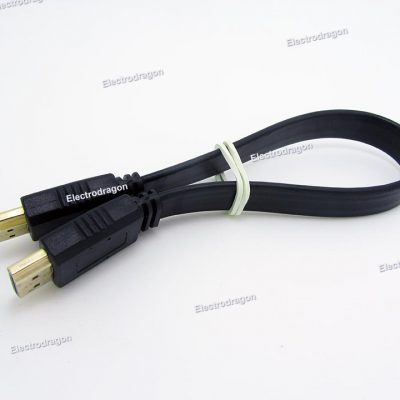
- includes HDMI-to-HDMI convert board from LCD to RPI:
- default convert board for RPI3
- if you need RPI4 please simply add order note or email us after you placed the order.
- touch panel pen
- Package NOT includes: raspberry pi board, microsd card, wifi mini card, etc
All documentations, specifications, demo, driver, detailed images please find here.
Additional information
| Weight | N/A |
|---|---|
| Display |


errol (verified owner) –
Great screen, but setting up is hard to figure out. If not set up correctly then you might see a broken screen with “dead” patches not showing any image.
Here is how to set it up. Make sure that all lines in config.txt with the work spi has a # in front, else touch does not load. Now add the following to config.txt, which should get you started:
hdmi_force_hotplug=1
hdmi_group=2
hdmi_mode=1
hdmi_mode=87
hdmi_cvt 800 480 60 6 0 0 0
dtoverlay=ads7846,penirq=25,penirq_pull=2,xohms=150,pmax=255,cs=1
errol (verified owner) –
If the cursor jumps too much when you touch the screen then change xohms=150 to xohms=400
Much better.
M. –
Great screen at a great price point! I had some trouble getting the touch to work properly though, especially around the lower left and right corners, but I stumbled upon this page: http://archlinuxarm.org/forum/viewtopic.php?f=60&t=9246&sid=d674a95bb7733482fc6112fc93f257df that shed some light on the matter. Basically, you begin by modifying the /boot/config.txt file as errol described above, like so:
hdmi_group=2
hdmi_mode=87
hdmi_cvt 800 480 60 6 0 0 0
I omitted the hdmi_force_hotplug part because it isn’t strictly necessary, and also the hdmi_mode=1 part because you’re resetting the hdmi_mode to 87 on the next line anyway.
With the dtoverlay…. line above, the pointer kept jumping about even after changing xohms to 400 (at which point it didn’t even register touches at all, so I brought it down to 150 again), so I adjusted the line to look like this:
dtoverlay=ads7846,speed=50000,penirq=25,penirg_pull=2,xohms=150,pmax=255,cs=1
And it worked beautifully. I’m running a vanilla install of Raspbian Jessie (the February 2016 version) and I installed xinput_calibrator from here: http://adafruit-download.s3.amazonaws.com/xinput-calibrator_0.7.5-1_armhf.deb
TL;DR
1) Modify /boot/config.txt to include the following lines:
hdmi_group=2
hdmi_mode=87
hdmi_cvt 800 480 60 6 0 0 0
dtoverlay=ads7846,speed=50000,penirq=25,penirg_pull=2,xohms=150,pmax=255,cs=1
2) Install xinput_calibrator to calibrate the touchscreen
Tested working on Raspbian Jessie (February 2016)
maguye007 (verified owner) –
Also, to get XServer to make the touchscreen calibration permanent, follow the steps from this page: http://tutorials-raspberrypi.de/lcd-touch-display-teil-2-anpassungen/ (Google Translate will help) for creating the calibration file. The /etc/X11/xorg.conf.d folder didn’t exist for me, so I had to create that first. Once that was done, I simply created the 99-calibration.conf file with the contents that xinput_calibrator provided, saved and it worked