Arduino W5100 Demo Test
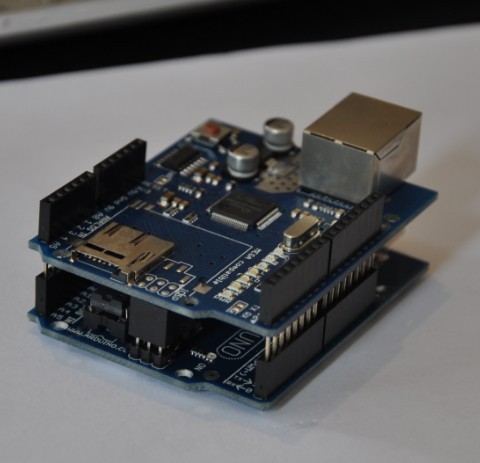
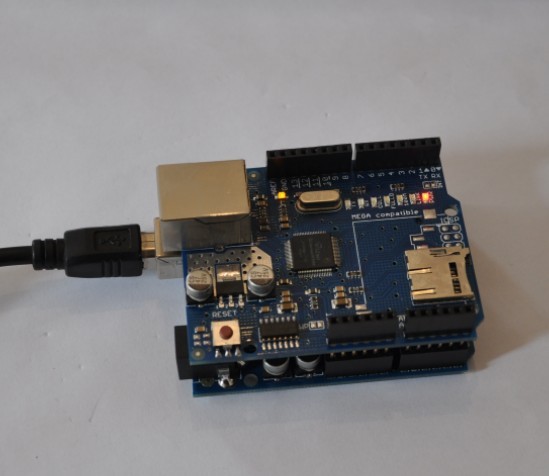
1. Stack your W5100 shield on you arduino board,make sure all the pins contact OK.
SIZE: L-69MM W-53.6MM
2. Download the test sketch
[c]
/************************************************/
#include <SPI.h>
/*
* Web Server
*
* A simple web server that shows the value of the analog input pins.
*/
#include <Ethernet.h>
byte mac[] = { 0xDE, 0xAD, 0xBE, 0xEF, 0xFE, 0xED };
byte ip[] = { 192, 168, 0, 15 };
Server server(80);
void setup()
{
Ethernet.begin(mac, ip);
server.begin();
}
void loop()
{
Client client = server.available();
if (client) {
// an http request ends with a blank line
boolean current_line_is_blank = true;
while (client.connected()) {
if (client.available()) {
char c = client.read();
// if we’ve gotten to the end of the line (received a newline
// character) and the line is blank, the http request has ended,
// so we can send a reply
if (c == ‘n’ && current_line_is_blank) {
// send a standard http response header
client.println("HTTP/1.1 200 OK");
client.println("Content-Type: text/html");
client.println();
// output the value of each analog input pin
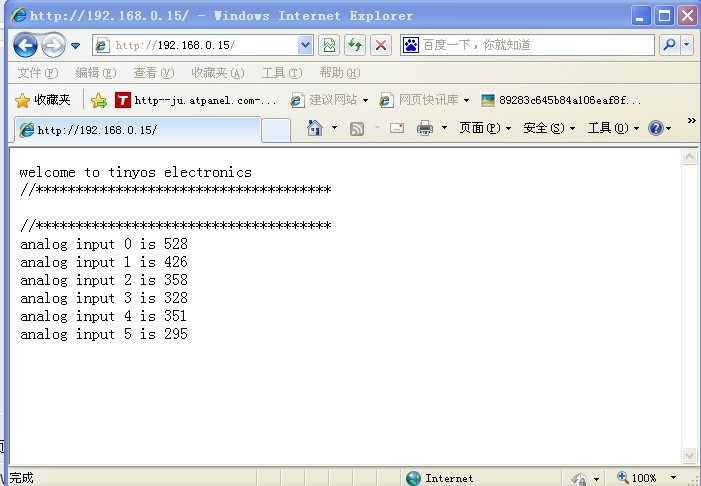
client.print("welcome to tinyos electronics");
client.println("<br />");
client.print("//*************************************");
client.println("<br />");
client.print("");
client.println("<br />");
client.print("//*************************************");
client.println("<br />");
for (int i = 0; i < 6; i++) {
client.print("analog input ");
client.print(i);
client.print(" is ");
client.print(analogRead(i));
client.println("<br />");
}
break;
}
if (c == ‘n’) {
// we’re starting a new line
current_line_is_blank = true;
} else if (c != ‘r’) {
// we’ve gotten a character on the current line
current_line_is_blank = false;
}
}
}
client.stop();
}
}
[/c]
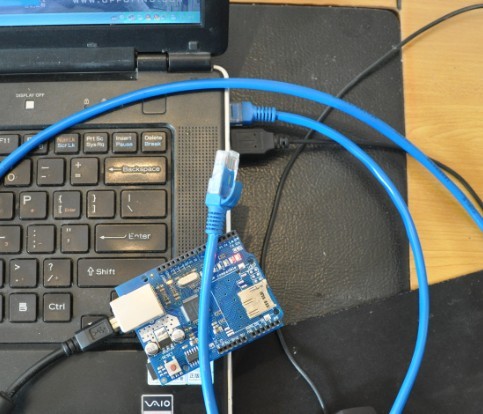
3. Connect your W5100 board and PC with cable(you may need a crossover cable if you direct connect PC and W5100)
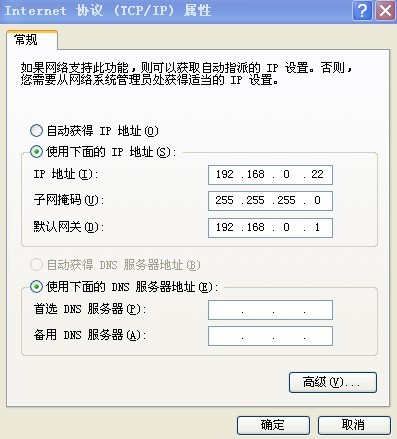
4. Setting your local PC IP
IP 地址 = IP address; 子网掩码 = subnet mask; 默认网关 = default net gate.
5.You will see PC Local connection show connected and W5100 4 LEDS will turn ON
FULLD,100M,LINK,PWR
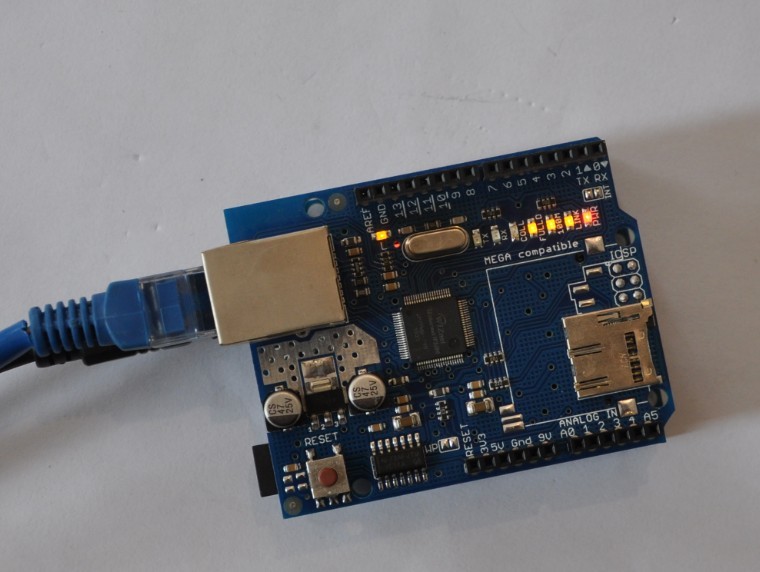
If not please try to press RESET button on W5100 Shield.
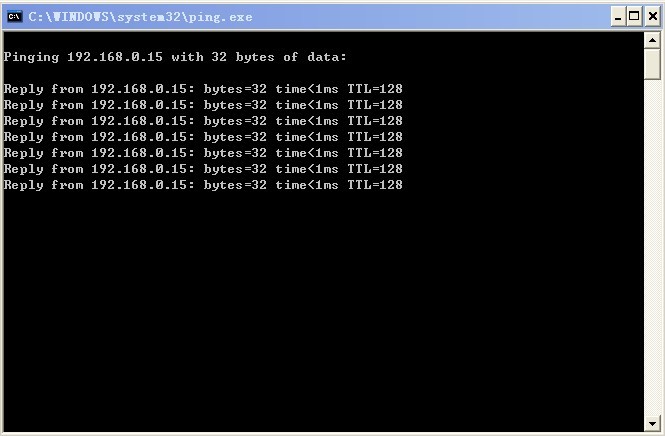
5.Now you can PING the W5100
6.Visit http://192.168.0.15/ you can see the test web page
Comments (3)
It looks a lot cleaner and more up to date than an old one.
it helped me. Thanks.
it worked with normal cable connected directly between pc and board.
why did it not work while both cables connected to router; no idea. Any help?
Sorry don’t understand the question, do you mean two modules connect by two cables to the router?
If you use fixed IP address, it can be IP conflict? Try different one?