
Most Simple Home-Made PCB by Toner Transfer
Compare to Photo-sensitive PCB, toner transfer PCB require less tools, steps to do, also every easy to control. We finish this simple board in 10 minutes. Of course, we provide a very professional PCB service now, you can get a very high quality PCB sample from our this service. 😀
I have to say this board we made is more or less useless, because we make it for demo, and we forgot double check the traces after we use laminator to transfer the toner, so some traces may in error.
![]()
What all you need is:
- Laminator machine can reach 200 degree
- Etch solution (Available from Electrodragon)
- Toner transfer paper (Available from Electrodragon)
- * Sand Paper 1000 and 600
- * Tape
- Etch Container
- Copper Board 10*15 (Available from Electrodragon)
- * Printer and A4 paper
- Oil marker pen
For the toner transfer paper, you sell it in a roll, please unroll it by flatting with some heavy materials.
All photos took by cell phone, sorry for the bad quality.
1. Print on the white paper
Get one piece of paper on the top in the paper tray, mark a “A” for direction, next time you will remember to how to put it again in the try with right direction and side.
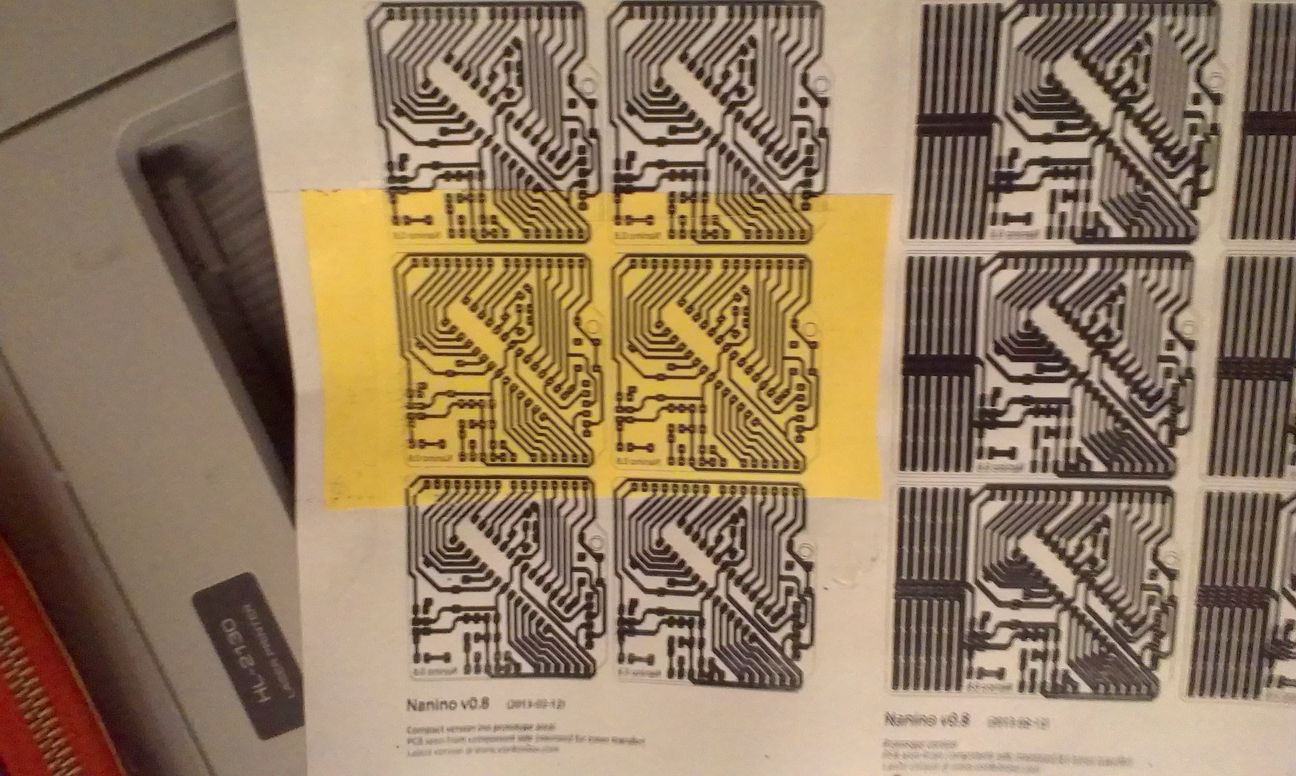
Print your board file directly on the white paper, we use nanino project, which is very suitable for making home-made arduino. See below.

2. Cut and tape the toner transfer paper
Find where you want to place the toner paper, cut a right size, make sure on the two side of the cut toner transfer paper are little bit longer for taping, because the toner transfer paper is now overlayer on the 4A paper with the front side, so that don’t tape it directly on the toner transfer paper.

Once taped, put the A4 paper with taped toner transfer paper into the paper tray with right direction and side, print it again, you will get, for my printer, the marker is on the back side of the paper:

3. Sand your Copper Board, Re-tape
Sand your copper board with 600 sand paper, until you can FEEL it is very rough. See the picture in step 4 how rough it looks.
Remove the toner transfer paper away from the A4 paper, put the front side towards to the copper board, tape them together. Now it’s no matter where you tape, you can tape directly on the transfer paper to make sure they are firmly locked together.

4. Toner Transfer and Double Check
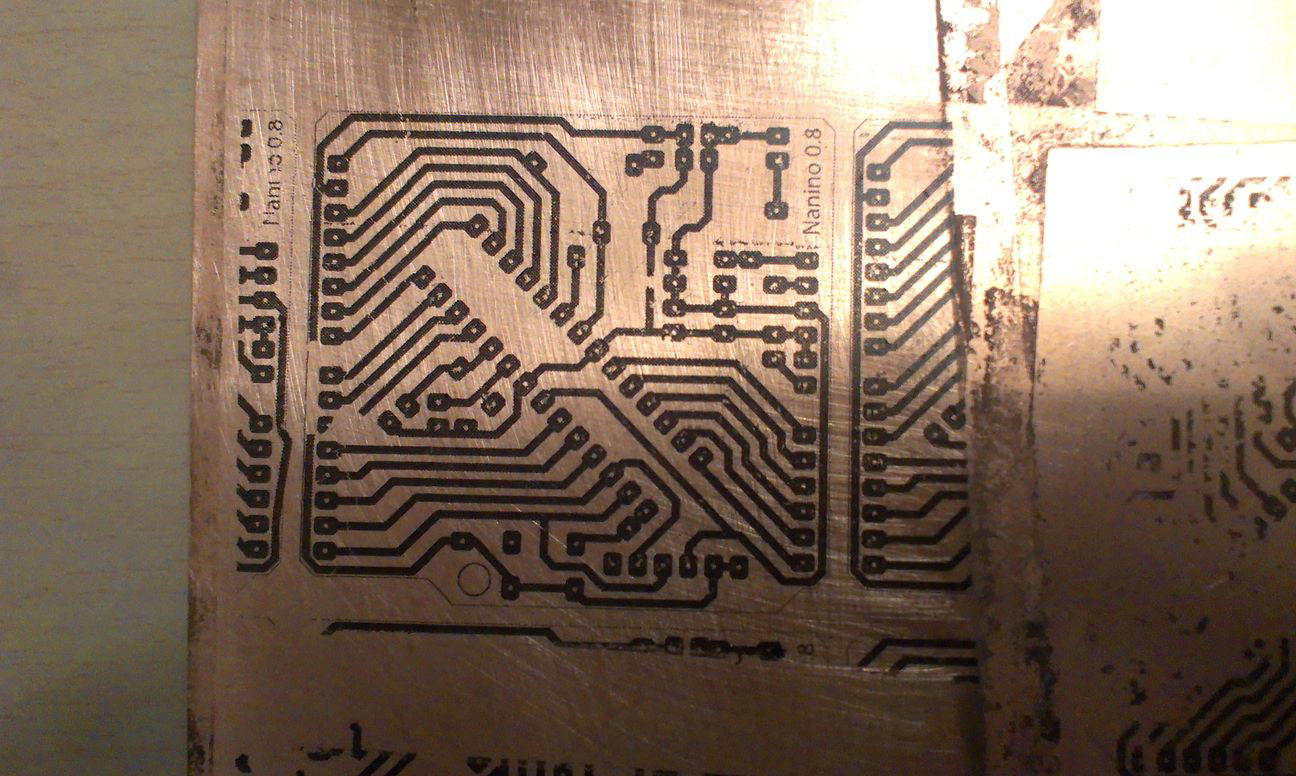
Turn on the laminator, adjust the temperature to 180-200 degreen, put the board to move in and reverse to move back, in and back, in and back for at least 5 turns. Now it’s done. See the result.
Now you should double check all the lines (traces) to see if all goods, we use a oil black marker to redraw the lines, you can see the words “EDN” (not END :D) for demo
5. Etch
Get hot water, stir the etch solution and etch your board, it’s easy and no more need to mention. Takes around 5 minutes.
Some toner off during washing.


6. Get rid of the rest Toner on the board
Now you the sand paper again now, this time you need more fine sand paper, about 1000, carefully sand it and get final board!
One more step is I used a bigger cutter to cut the rest of the board, easily like cutting cake 😀 just a quick solution, you get use a PCB cutter.
Drilling holes we will not mention here anymore, you can also get drill bit at electrodragon.
Looks great ?! It’s very simple, how you like.


Comment (1)
Now this is what I am talking about I really wish I had found this website sooner!